Pajamas
How to Make a One Piece Smaller: Easy Step-by-Step Guide
Jul
Making a one-piece fit just right can be a challenge, especially when it’s too big for a little one or a doll.
To make a one-piece smaller, you can resize it by adjusting the seams and using a simple sewing method.
This task is not only practical but also a fun way to personalize a piece of clothing.
By following a few steps, anyone can transform a baby one-piece into a perfect-fit garment for a smaller size.
Resizing a one-piece involves some basic sewing skills and a bit of creativity. With a needle and thread or a sewing machine, hems can be adjusted, and excess fabric can be taken in to achieve the perfect fit.
For a unique touch, adding decorative elements such as patches or embroidery can enhance the one-piece’s look and make it stand out.
For those looking to gift a resized one-piece, making it smaller can turn a simple piece into a thoughtful present. Ensuring that the final piece is neatly finished and cared for properly will help it last longer and make it truly special.
Key Takeaways
- Resizing a one-piece involves adjusting seams and taking in fabric.
- Decorative elements can personalize the resized one-piece.
- Resized bodysuits make thoughtful gifts with careful finishing touches.
Understanding One Piece Sizes
Sizing for bodysuits can vary based on age and material. Knowing the right fit is important for both comfort and function.
Proper adjustments might involve sewing or using specific materials to alter size and fit.
Considering Different Ages and Sizes
When choosing a one-piece, it’s important to consider the wearer’s age and size. Baby bodysuits typically have age-specific sizes, such as 0-3 months or 6-9 months. These sizes ensure they fit appropriately as a baby grows.
Adult bodysuits are usually sized by height and general clothing size. It might be necessary to measure both chest and length from shoulder to crotch to find the best fit.
Different brands might have different measurement guides, so checking them is crucial. For example, this guide suggests that looser fits can be more comfortable, allowing for better mobility.
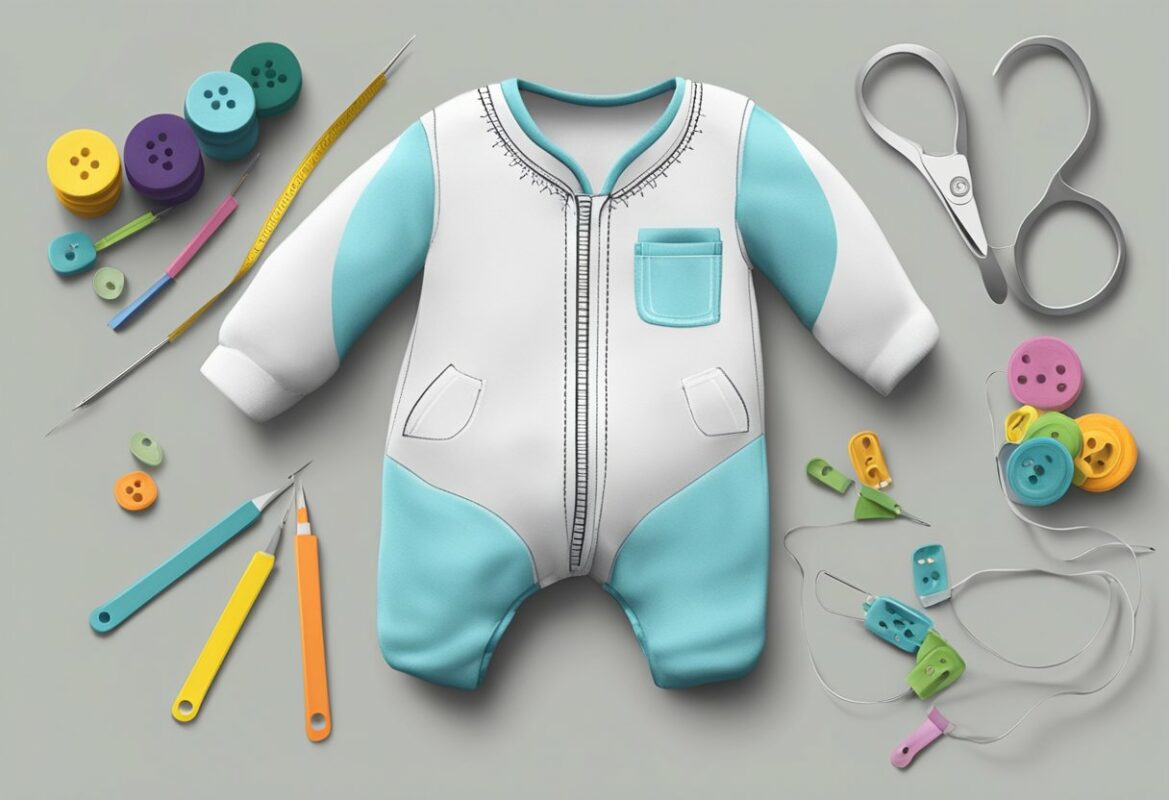
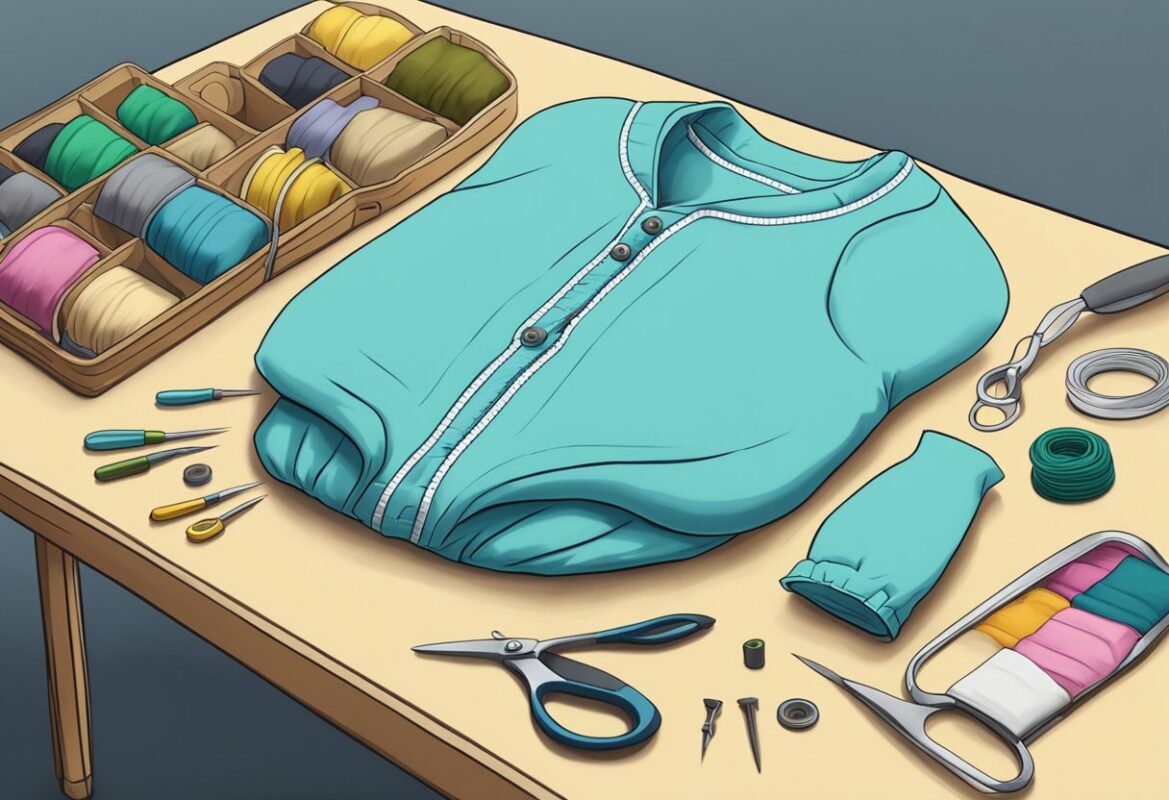
Materials and Tools Required
Adjusting a one-piece size often requires some basic materials and tools. Stretchable materials like cotton with added spandex offer flexibility, making them easier to adjust. A sewing machine is often necessary for more precise alterations.
To avoid fabric damage, it’s important to use the right needle type and thread when sewing.
Basic tools might include scissors, measuring tape, and pins.
Care instructions, like those found here, should be followed to ensure that alterations don’t affect fabric quality. Using cold water for washing and avoiding high heat drying can help maintain size and shape.
Preparation Before Making Adjustments
Before changing the size of a one-piece, it’s important to get everything ready. Proper washing, measuring, and preparing the fabric make a big difference. These steps ensure the one-piece will have the best fit possible without needing major alterations later.
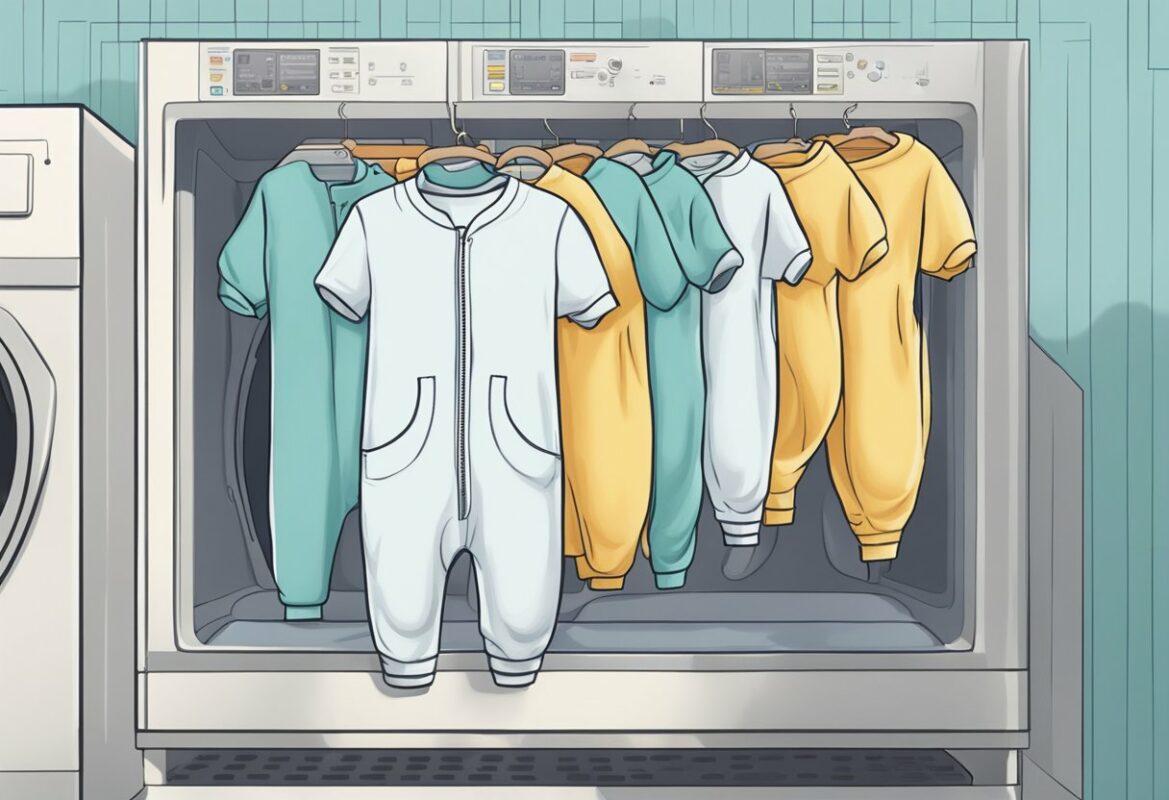
Washing and Drying
Start by washing and drying the one-piece according to its care instructions. This process ensures any shrinkage happens before making adjustments. It can also remove residues from the fabric that may interfere with the adjustment process.
Using a mild detergent is crucial to maintaining the fabric’s quality.
After washing, dry the one-piece completely, ideally in a way that corresponds with the fabric type. For some fabrics, air drying can be the best method to prevent additional shrinkage.
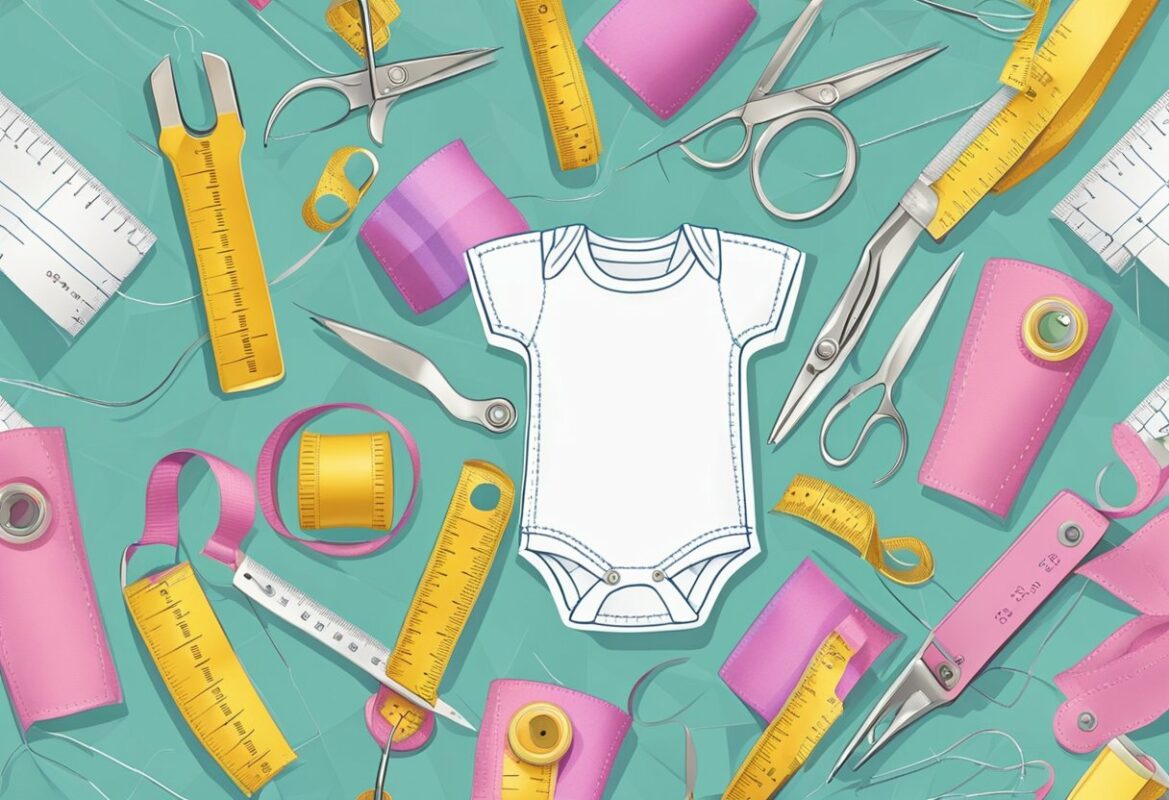
Measuring and Marking
Accurate measurements are key in any sewing project.
Lay the one-piece flat on a clean surface and measure areas that need adjustments. Use a measuring tape to determine how much fabric needs to be taken in.
Mark these areas clearly using fabric chalk or washable markers. This will serve as a guide for adjustments.
Remember that a small seam allowance is crucial here, allowing space to make changes without affecting the fabric’s integrity.
Precise measurements and markings form the backbone of successful sizing adjustments.
Disassembling Existing Seams
Carefully opening existing seams is an important step. Doing so allows for a smooth resizing process.
Use a seam ripper to gently remove the stitches, avoiding tears in the fabric.
Patience is necessary here to ensure minimal damage.
Once the seams are open, you can easily adjust the one-piece to the new measurements.
Iron-on vinyl may need extra attention, as it can be affected by the seam removal process. Consider sandwiching the vinyl between fabric layers to protect it during adjustments.
Altering the One Piece

Making a one-piece smaller involves a few key adjustments, like reducing the width, shortening the length, and tightening the cuffs. These steps help create a snug fit for a baby or doll.
Decreasing Width
To make the one-piece narrower, start by turning it inside out. Lay it flat and use a measuring tape to determine how much width needs to be removed.
Draw a line with tailor’s chalk along each side to mark the new seam.
Sewing machine: Set it to a straight stitch and carefully sew along the chalk line, ensuring even stitching.
Finish by trimming excess fabric beyond the new seams and using a zigzag stitch to prevent fraying.
One Piece pattern: Adjustments should match the original style of the one-piece, especially if it’s a long-sleeved one-piece. Proper alignment helps maintain a polished look.
Shortening the Length
If the one-piece is too long, fold it inside out and measure how much needs to be removed from the bottom.
Use tailor’s chalk to mark the new hemline.
Cut the excess fabric: Carefully follow the chalk line.
Set the sewing machine to a straight stitch and sew along the new hemline. Ensure it’s secured with a backstitch at the end.
Double-check that the new length is symmetrical on both sides.
Shrinking a one-piece can also be an option if minor adjustments are needed. Consider pairing it with a complementary pattern to add flair while maintaining function.
Tightening the Cuffs
The cuffs can be made tighter by measuring how much fabric is to be removed.
Use a seam ripper to open the cuff seam, trim the extra material, and then fold it back.
Sewing machine approach: Set to a zigzag stitch for flexibility. Sew the cuff back together along the new seam line. This prevents any pressure or discomfort for the wearer.
Ensure that both cuffs match in size. This simple alteration enhances comfort and fit, making the one-piece wearable for longer periods without sliding or bunching.
Customizing with Decorative Elements
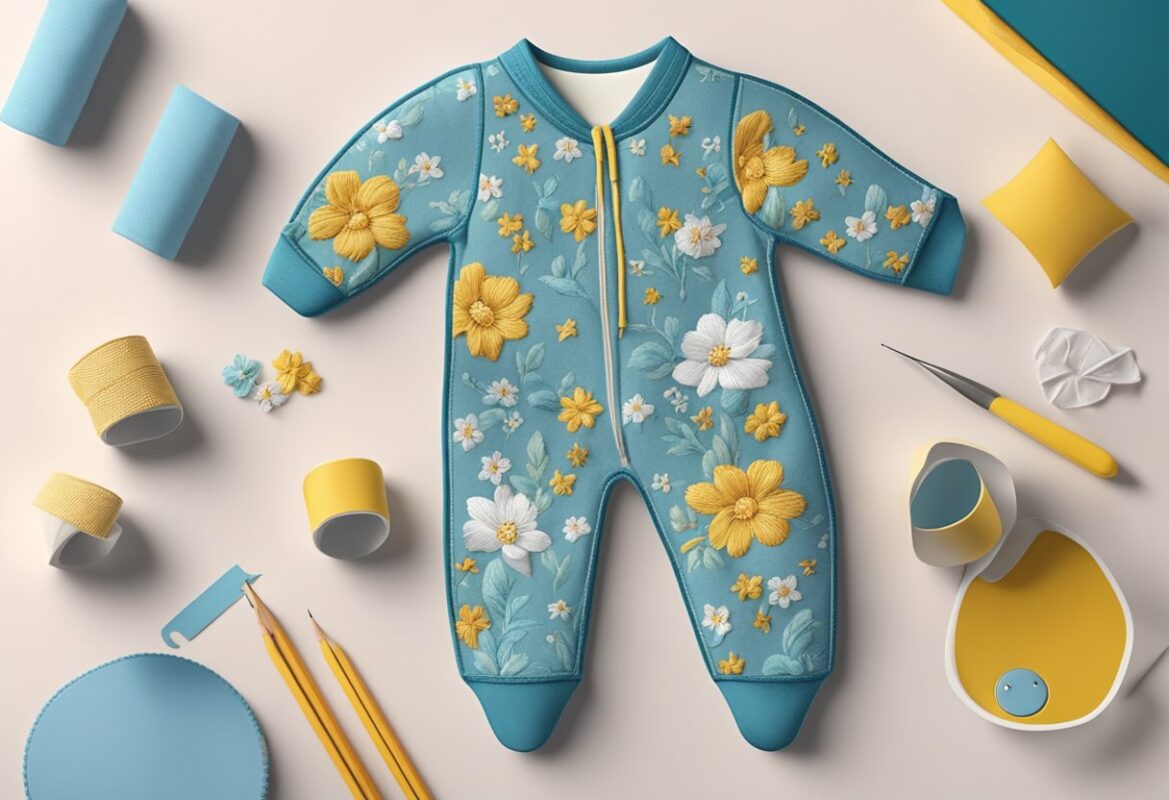
Customizing baby bodysuits with decorative elements adds a touch of creativity and personality. This section will explore adding personalized patches and applying iron-on vinyl designs using tools like Cricut and EasyPress.
Adding Personalized Patches
Personalized patches can transform a plain one-piece into a unique garment. To start, choose a patch design that reflects the baby’s personality or matches a theme.
Patches can be sewn or ironed onto the fabric, depending on preference. Sewing provides a more permanent solution, while ironing is quicker.
Select patches with a heat-activated adhesive for easy application.
Before attaching, position the patch on the one-piece to ensure accurate placement.
Using an iron, press firmly over the patch for 30-40 seconds. This activates the adhesive and secures the patch in place. Allow the fabric to cool before handling.
Some people also choose to use a Cricut machine to create intricate designs for patches. This brings precision and variety to the design options, enhancing creativity.
Applying Iron-On Vinyl Designs
Iron-on vinyl designs add vibrancy and character to simple bodysuits.
Using a Cricut machine simplifies cutting even the most intricate patterns from vinyl sheets.
Choose a design that complements the fabric color and one-piece style.
Once cut, peel away the excess vinyl, leaving the design on the transfer sheet.
Position this on the one-piece fabric.
The Cricut EasyPress is ideal for transferring the vinyl design securely.
Set the EasyPress to the recommended temperature and press it over the design for about 30 seconds.
This process ensures that the vinyl adheres firmly. Once cooled, carefully remove the transfer sheet and admire the personalized one-piece that stands out with distinctive style.
Final Touches and Care Tips
Once a one-piece has been resized, it’s important to check the finished work and know how to keep it in great shape. This involves ensuring seams are sturdy and following helpful care practices to maintain quality.
Inspecting the Finished Product
After completing a sewing project to alter a one-piece, it’s crucial to carefully inspect the final product.
Look for any loose threads that might unravel over time.
Check seams to confirm they are securely stitched and lying flat. Turn the one-piece inside out to ensure internal joins are smooth and won’t irritate the skin.
Verify that any buttons or zippers are firmly attached and operate smoothly without catching.
Compare the finished piece to the original one-piece pattern to ensure dimensions match the desired size.
This attention to detail helps in achieving both comfort and durability in the resized garment.
Care and Maintenance Instructions
Proper care is key to preserving a resized one-piece.
Wash the one-piece in cool or warm water using a gentle cycle to prevent shrinking further. Mild detergents help maintain fabric quality.
It’s recommended to avoid bleach or fabric softeners, as these can weaken fibers.
Dry the one-piece on a low setting or air dry to minimize wear.
For 100% polyester bodysuits, washing in cold water on a gentle cycle is best. Hand washing with a mild detergent can protect fabric structures and decorations.
Regularly inspect the one-piece through its use to catch any repairs early, ensuring it remains a favorite piece in the wardrobe for a longer time.
Gift-Giving Ready One Piece
Creating a charming and unique one-piece for a baby gift involves careful attention to packaging and presentation, along with clever and thoughtful gift ideas. These elements ensure that the one-piece is not only functional but also delightful for those giving and receiving it.
Packaging and Presentation Tips
When preparing a one-piece as a gift, how it’s packaged plays a big role in its appeal.
Begin by choosing a soft, neutral-colored gift box or bag to match common themes at baby showers or newborn gift settings.
Line the box with tissue paper of contrasting color to give an elegant touch.
Consider adding a handwritten note or card inside the package, sharing a heartfelt message or warm wishes. This personal touch enhances the emotional value of the baby gift.
Decorative ribbon or twine can be wrapped around the box, completing the presentation with charm.
Creative Gift Ideas
The one-piece can be transformed into a more exciting gift when paired with other small items.
Consider including practical items like matching bibs or baby socks, adding utility for the new parents.
Get creative by using the one-piece as a canvas for personal touches. Iron-on vinyl or embroidered initials can make the one-piece more personal and unique, suitable for a memorable baby shower gift.
Gift bundles can also include storybooks or small plush toys, enhancing the surprise factor and joy for both the baby and parents.
These additions make the one-piece part of a thoughtful collection that celebrates the arrival of the newborn.
Frequently Asked Questions
When looking to make a one-piece smaller, there are several methods that can be tried, such as using heat for shrinking or sewing for alterations. It’s important to consider the fabric and desired fit when attempting these adjustments.
Can you alter a one-piece to fit better without sewing?
Yes, non-sewing methods include using safety pins or fashion tape to temporarily adjust the size. These methods may not produce a permanent solution but can adjust fit on a short-term basis.
What is the best way to shrink an adult one-piece?
Shrinking via washing in hot water followed by high heat drying is a common method. This process works best for bodysuits made from cotton or other shrinkable materials.
Repeating the cycle can lead to further shrinkage if needed.
What methods can be used to reduce the size of a one-piece?
In addition to washing and drying, alterations like adding elastic or taking in seams are options.
This may require basic sewing skills but allows for more precise adjustments.
Is it possible to resize a one-piece that is too large?
Yes, resizing can be done by either shrinking or sewing alterations. Fabric types and initial sizing may affect the success of these methods, so considering fabric content is vital.
Should bodysuits have a loose fit, or can they be tailored for a snugger feel?
Bodysuits can be tailored for a more fitted appearance if preferred. Tailoring involves taking in seams or adjusting elastic to achieve the desired snugness.
What steps are involved in adjusting the fit of a one-piece for a child?
Adjusting a child’s one-piece might include shortening the legs or arms, which can be achieved through hemming. Sewing in new elastic or adding tucks can also refine the fit for growing children.